
How to install stainless threaded accessories?

New Trends in Jewelry Design with Copper and Brass Wire: Ideas to Inspire Your Creativity
In recent years, jewelry design has evolved significantly, standing out for the incorporation of materials such as copper wire and
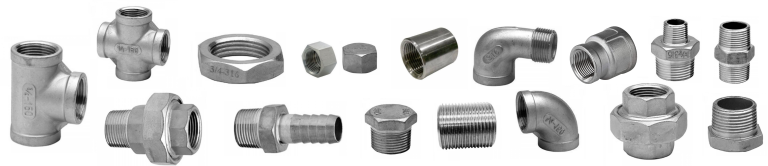
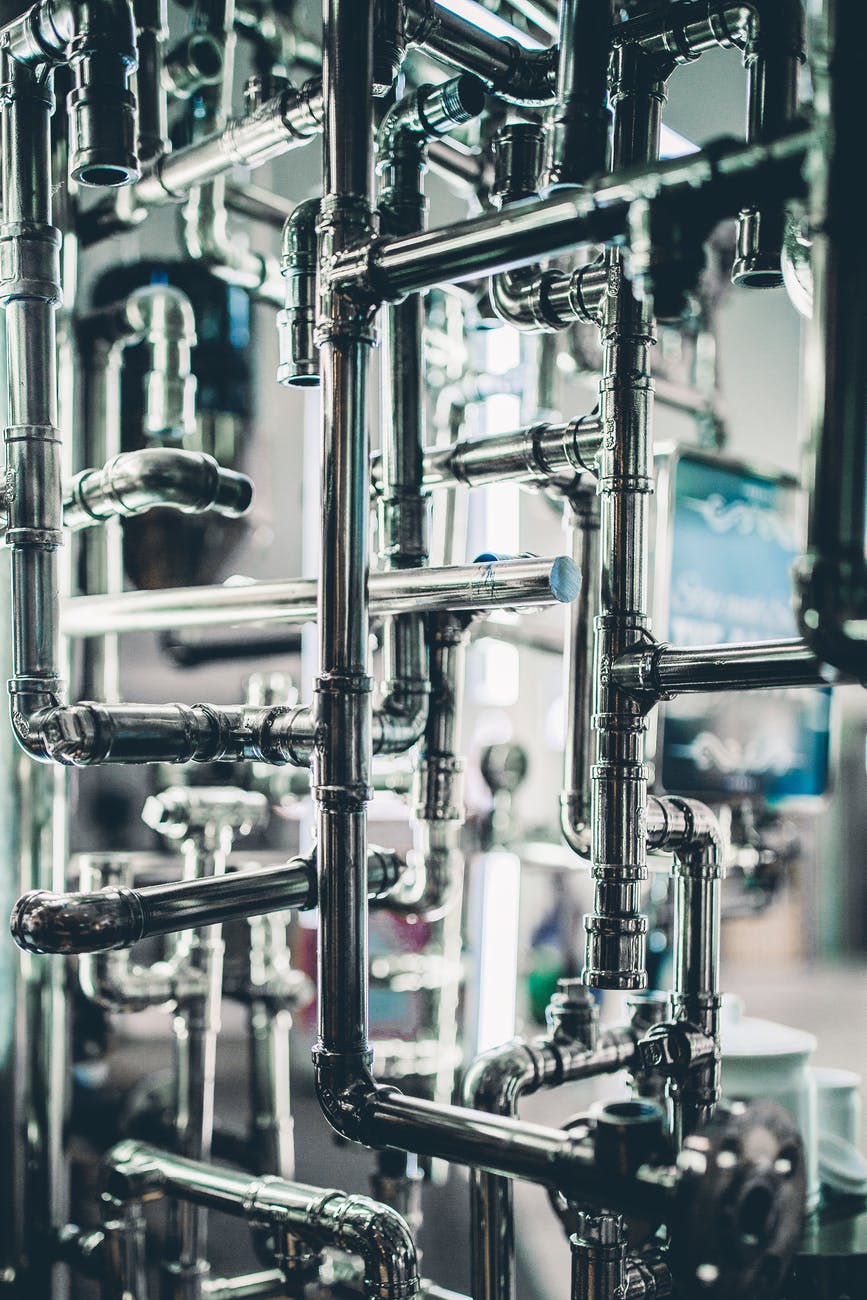
Stainless Steel Fittings: Quality and Durability for Projects
Learn about the applications and advantages of stainless steel fittings; they are pieces designed to be installed by thread, so they do not require welding.
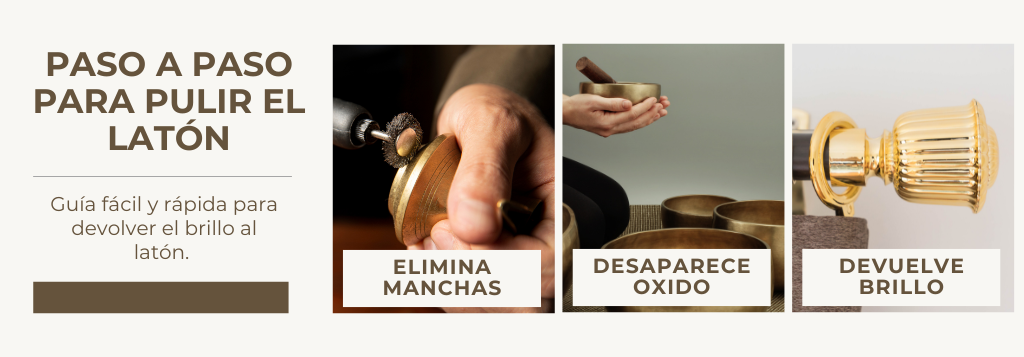
Step by step to polish brass. Remove rust and stains
In this quick guide we show an easy way to remove stains, rust and scratches from brass parts, surfaces or sheets. In addition, we will be able to give a spectacular shine to our brass pieces with 4 simple steps. This guide is for intermediate users since we will need a radial or grinder to be able to use the products properly.